





















FAQ GeoDAS Messenger SMS Set Up Modem
1. Introduction
- This procedure describes how to set up GeoDAS to send SMS notifications through a serial modem.
2. Required Tools
- GeoDAS (V2.40 or newer) installed on a Windows computer
- Serial modem with SIM card, accessible on Windows COM port
Use of SIMCom SIM5216, or SIM7600 is recommended, but other modems may work as well.
3. Create a List of SMS Recipients
- The list of recipients is a text file with phone numbers of SMS recipients.
- Open a text editor, such as Windows Notepad.
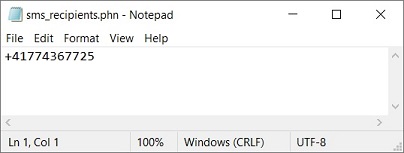
- Enter the SMS recipients, one line per recipient with the country code and phone number.
The sample below represents a Swiss phone number (country code +41):
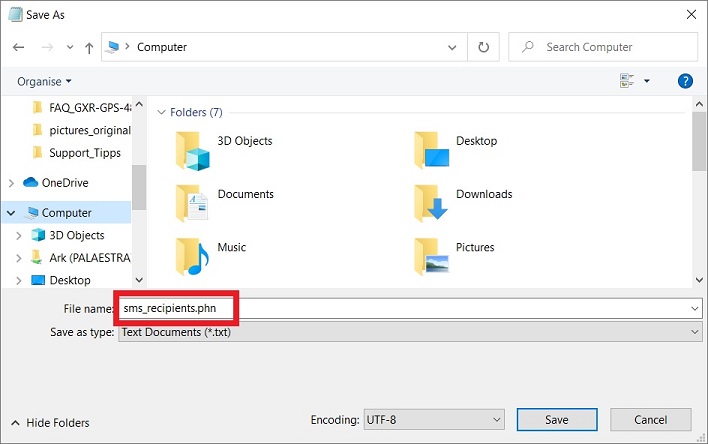
- Save the file with extension .phn (not .txt!)
4. Find COM port of modem in Windows
- In Windows under Device Manager -> Ports (COM & LPT), a SIMCOM modem will appear as SimTech.
- If the device doesn't show or shows as UNKNOWN or appears under "Other Devices" with yellow exclamation mark, the correct driver may need to be installed.
Driver for SIMcom SIM7600:
https://www.dropbox.com/scl/fi/ctp15mccks1cypnoiy88s/Windows10_Driver.zip?rlkey=d3iaa4vo7pjnkm9yji1aejngh&dl=0
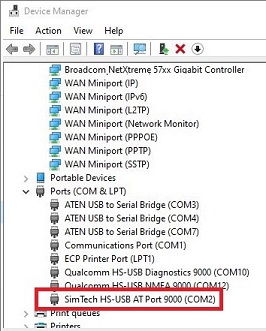
- Remember the COM port.
5. Configure the modem in GeoDAS
- In GeoDAS under Settings -> Messenger, tix the box SMS service using cellular modem at and choose the COM port of the modem and its baud rate from the dropdown.
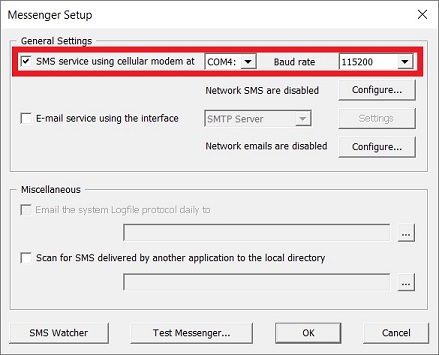
- Close the window with [OK] and restart GeoDAS.
6. Set up Notifications and Messages in GeoDAS
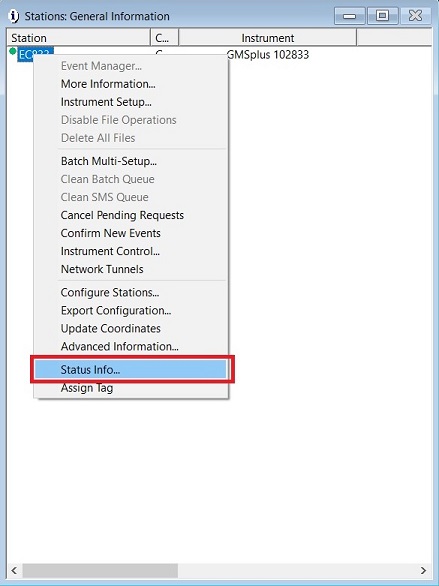
- In GeoDAS window Stations: General Information, right-click on a station and choose Status Info...
- Tick the boxes of the corresponding notification types you want to receive as SMS.
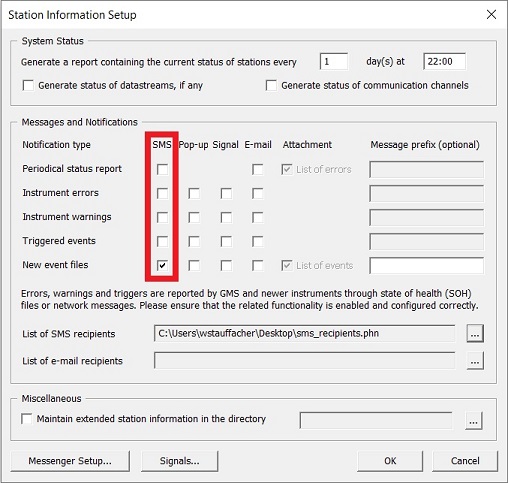
- Click the button [...] to browse to the.phn file with the SMS recipients.
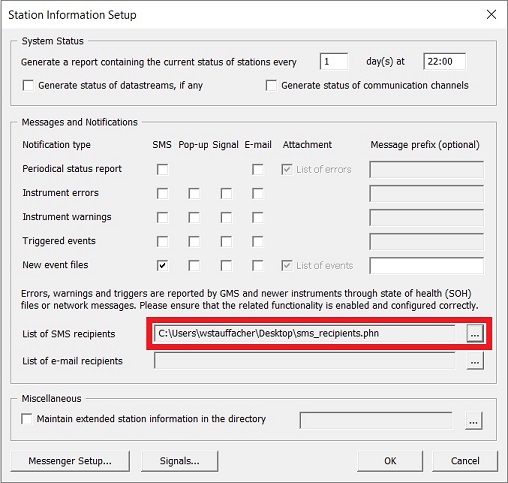
- Close the window with [OK] and restart GeoDAS.
7. Test
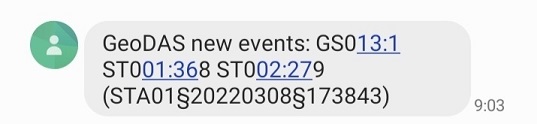
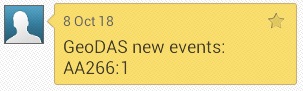
- Create an event on an instrument and check if the SMS is sent to the recipients in the list.
- The process is also logged in GeoDAS Logfile.
 ?
?
8. Examples of Notification Types
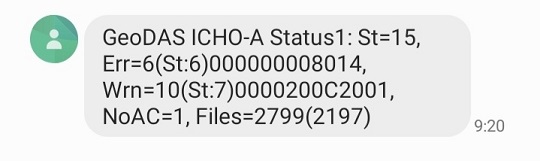
- Periodical status report
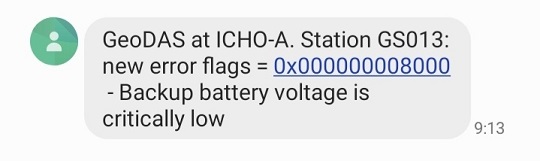
- Instrument errors
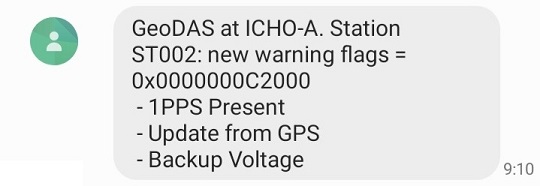
- Instrument warnings
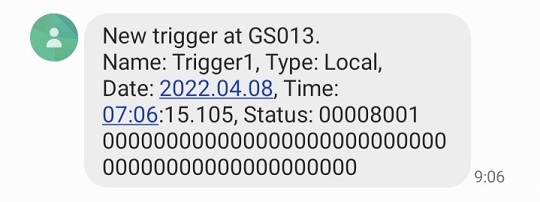
- Triggered events
- New event files