




















FAQ GeoDAS Change Data Directory
1. Introduction
- This procedure describes how to change the default root data directory of GeoDAS (C:\GeoDAS_DATA) to a custom directory.
2. Required Tools
- GeoDAS installed on a Windows computer
3. Backup GeoDAS Configuration
- In GeoDAS under File -> Configuration, click Backup.
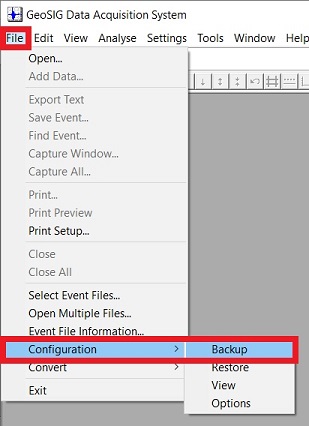
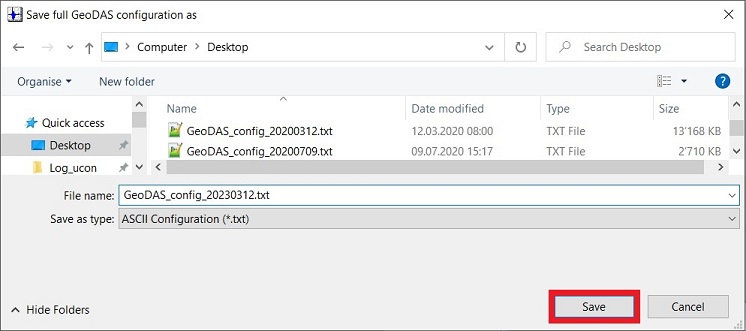
- Choose a directory and file name for your backup.
- Click [Save] to save the configuration in .txt format.
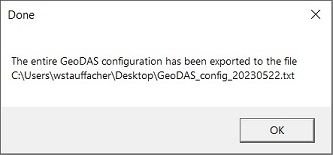
- The process may take a while; wait for the confirmation message.
- Close GeoDAS.
4. Create New Directory
- Create the new directory you want to use to store GeoDAS data (e.g. M:\GeoDAS_DATA_new)
- New files will be stored in the new directory; old files will be kept in the old directory.
- It is also possible to move the complete GeoDAS_DATA folder (or its contents) to the new directory.
5. Restore GeoDAS Configuration from Backup
- Start GeoDAS.
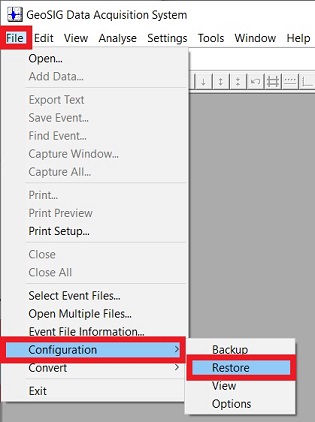
- In GeoDAS under File -> Configuration, click Restore.
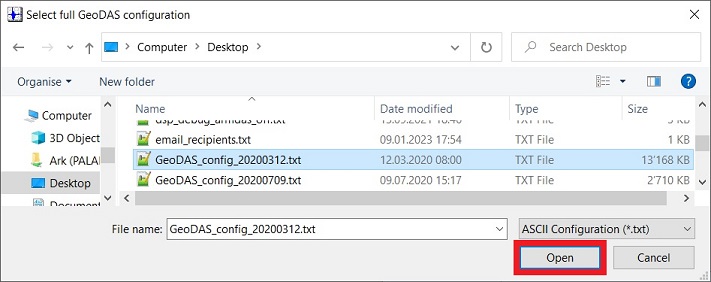
- Browse to the directory with the configuration file stored under 3.
- Choose the configuration file and click [Open].
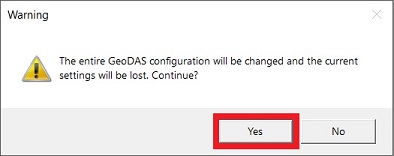
- Confirm the warning with [Yes]
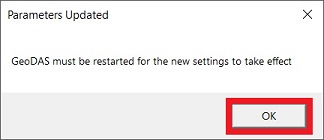
- Confirm with [OK] and restart GeoDAS
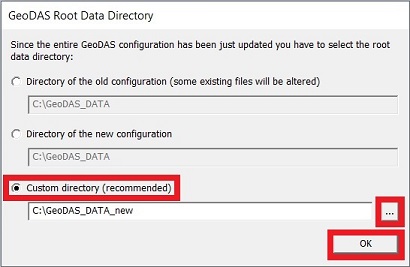
- After the restart, you will be asked to choose the root directory of GeoDAS
- Tick Custom directory
- Enter the path to your directory or browse to it by clicking [...]
- Confirm with [OK]